Finally, after pouring in weeks and months of hard work, you’ve built an awesome iOS app. Time to sit back and admire it, like you’re looking at the Mona Lisa, right?
Well, if you want your audience to download your app and start generating revenue for your business, you can’t sit back and relax for too long.
Instead, you need to launch your app on the Apple App Store.
If this sounds daunting, don’t worry! We’ve got you covered. Because in this blog, we’re going to guide you through every step you need to take to submit your app with a flourish, while providing advice on how to market and maintain your app.
Towards the end of this blog, we’ll also reveal a cheat code for beginners that saves you a ton of admin time in the process, helping you launch faster while staying in line with industry best practices.
Buckle up and let’s get started 👇
Step 1 - Test your app and follow App Store review guidelines
Before you start the submission process, it’s important to understand that Apple aims to deliver the best mobile app store experience for its users. As a result of this, it reserves the right to reject your app if your listing is flawed.
Each app undergoes a certification process before going live on the App Store, which involves a comprehensive review of your app by an assigned Apple employee.
To ensure they wave your app through like a kid passing through airport security, you need to thoroughly test your app in advance across multiple Apple devices and iOS versions.
You also need to fix any bugs or glitches and ensure your app doesn’t freeze or crash.
Assuming you’ve followed these steps, you also need to ensure your app aligns with the Apple App Store Guidelines. These guidelines explain in detail all the requirements you need to maintain your app.
Read the information carefully and ensure your app complies with safety, performance, payments, design and legal requirements.
Step 2 - Prepare app assets
To avoid any last-minute hiccups, you need to prepare all the app assets and information you will require down the line. These include:
- Creating an eye-catching app icon that represents your brand
- Capturing high-quality screenshots showcasing key features and UI
- Crafting your app name, subtitle, keywords and app categories to rank your app
- Preparing an engaging app description highlighting unique selling points
- Producing a compelling app preview video to demonstrate its functionality
- Gathering support URLs like marketing URLs, privacy policy URLs and copyright information
Step 3 - Create an Apple developer account
Now that you’ve tested everything and gathered all the app assets, let’s get to the fun stuff.
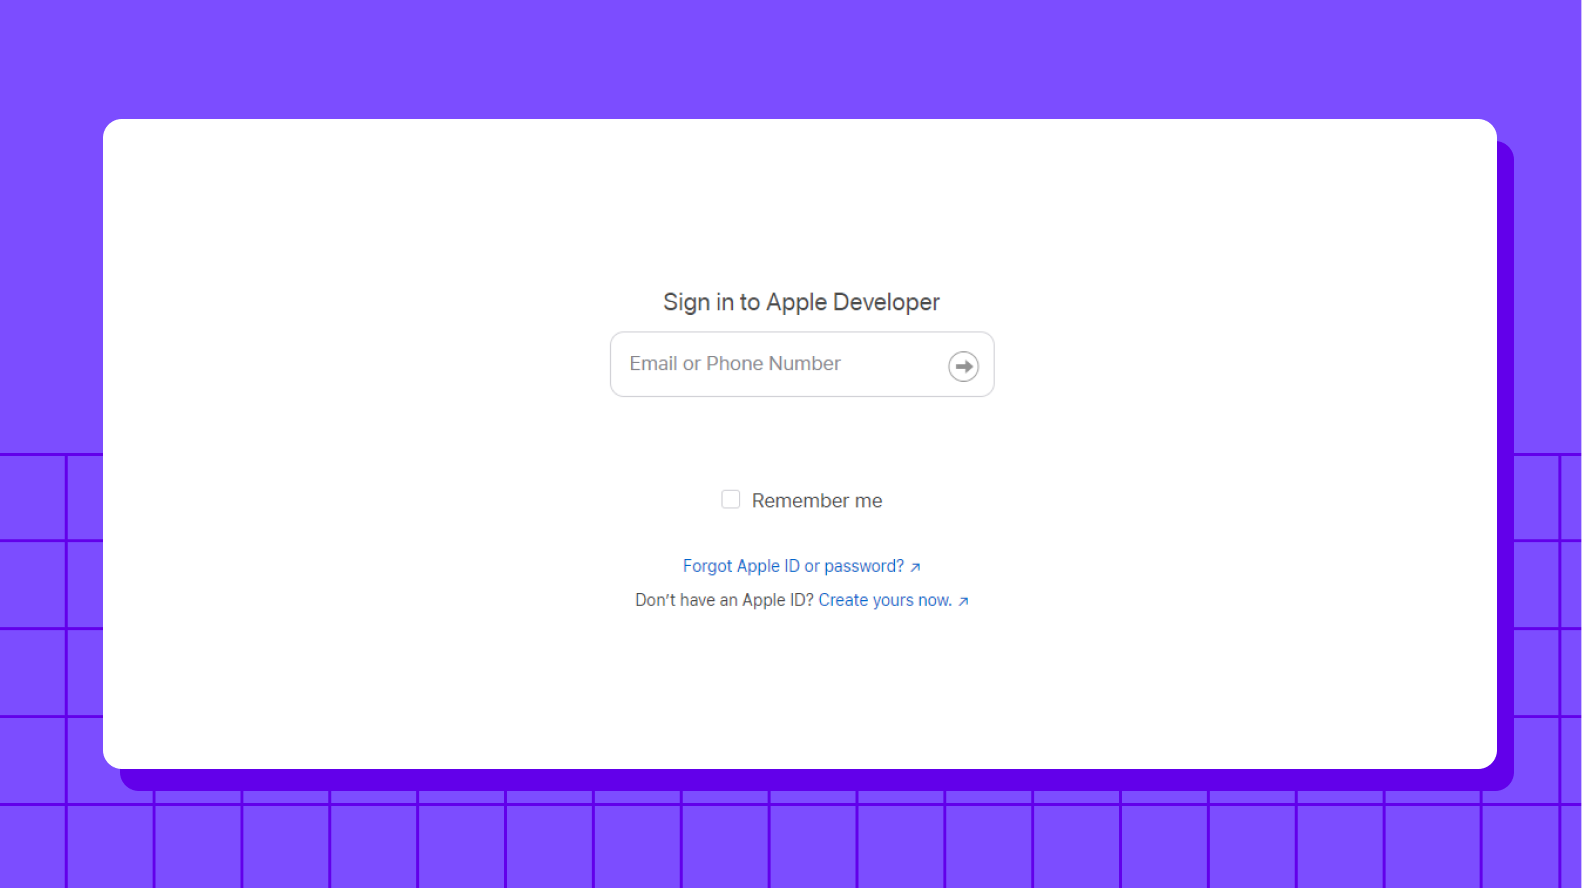
To submit your app to the App Store, you first need to create an Apple Developer Account. This is pretty straightforward but crucial, as you can't submit your app without it.
You can simply sign up for this using the Apple ID that you currently use or create a new one. Depending on your requirements, you can enrol in the Apple Developer Program as an individual or as an organisation.
You need to pay $99 per year, which provides benefits like user access to Beta Software, app testing tools, technical support and analytics tools.
Step 4 - Set up App Store Connect and create a new app
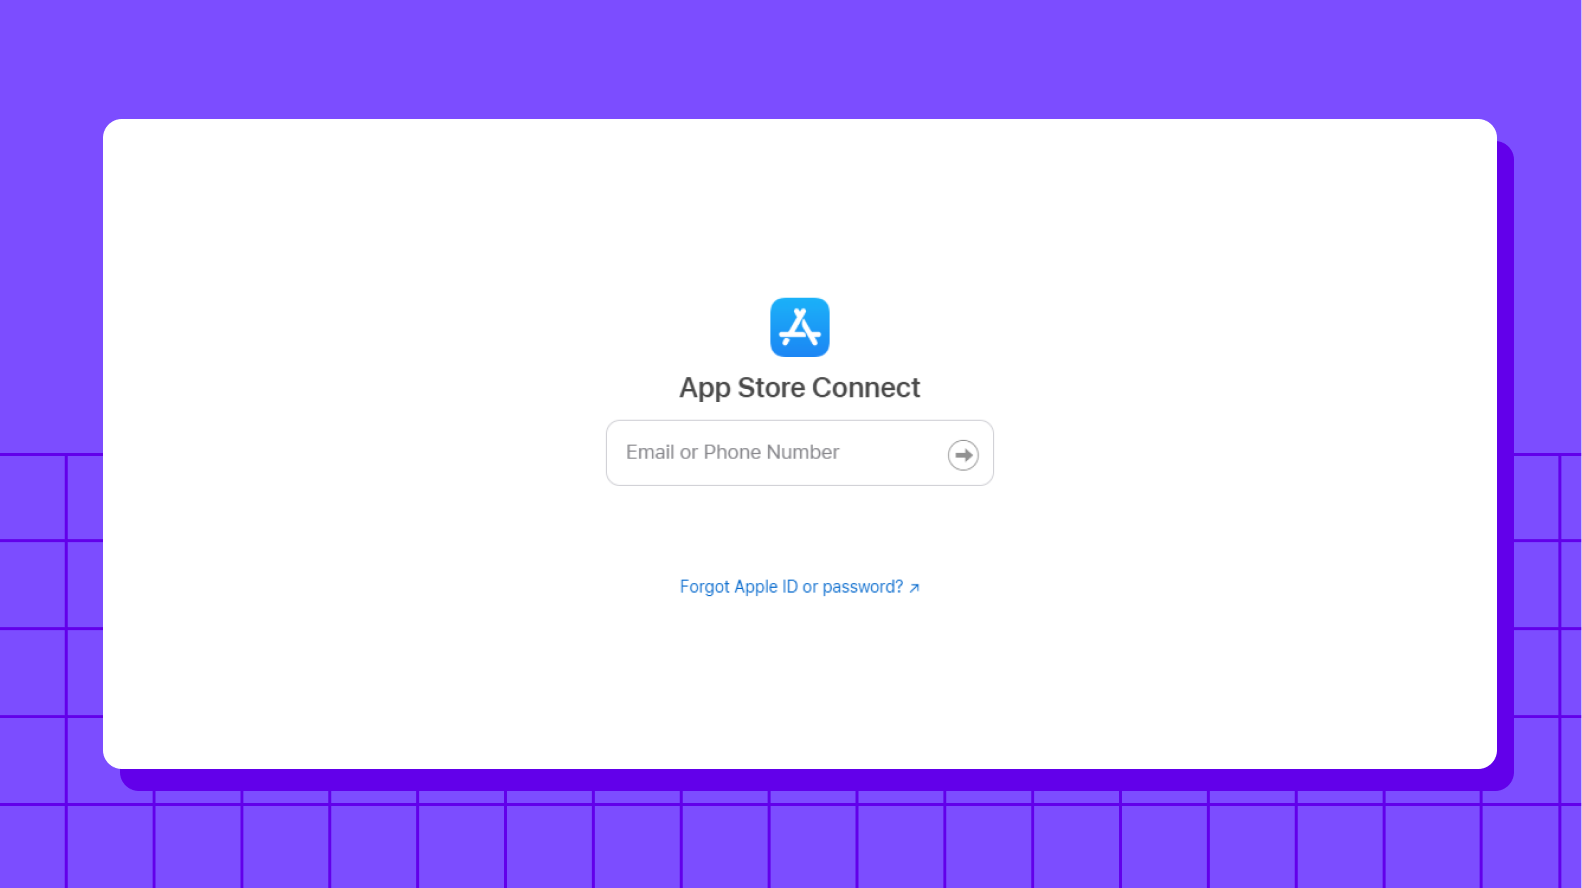
Right after you create an Apple developer account, you get access to the App Store Connect. Here, you can create and manage your app and access all the information, like app analytics, sales and trends, payments and financial reports and user access.
To create a new app, you simply need to:
- Open “My Apps” from the dashboard
- Click the “+” icon in the top-left corner and select “New App” from pop us menu
- Fill out the form with the required information, like platform, name, primary language, bundle ID and SKU.
- Once filled, click on “Create”
Step 5 - Configure app metadata
Once you’ve created your new app, you’ll be redirected to the product page. There are different sections you need to fill out.
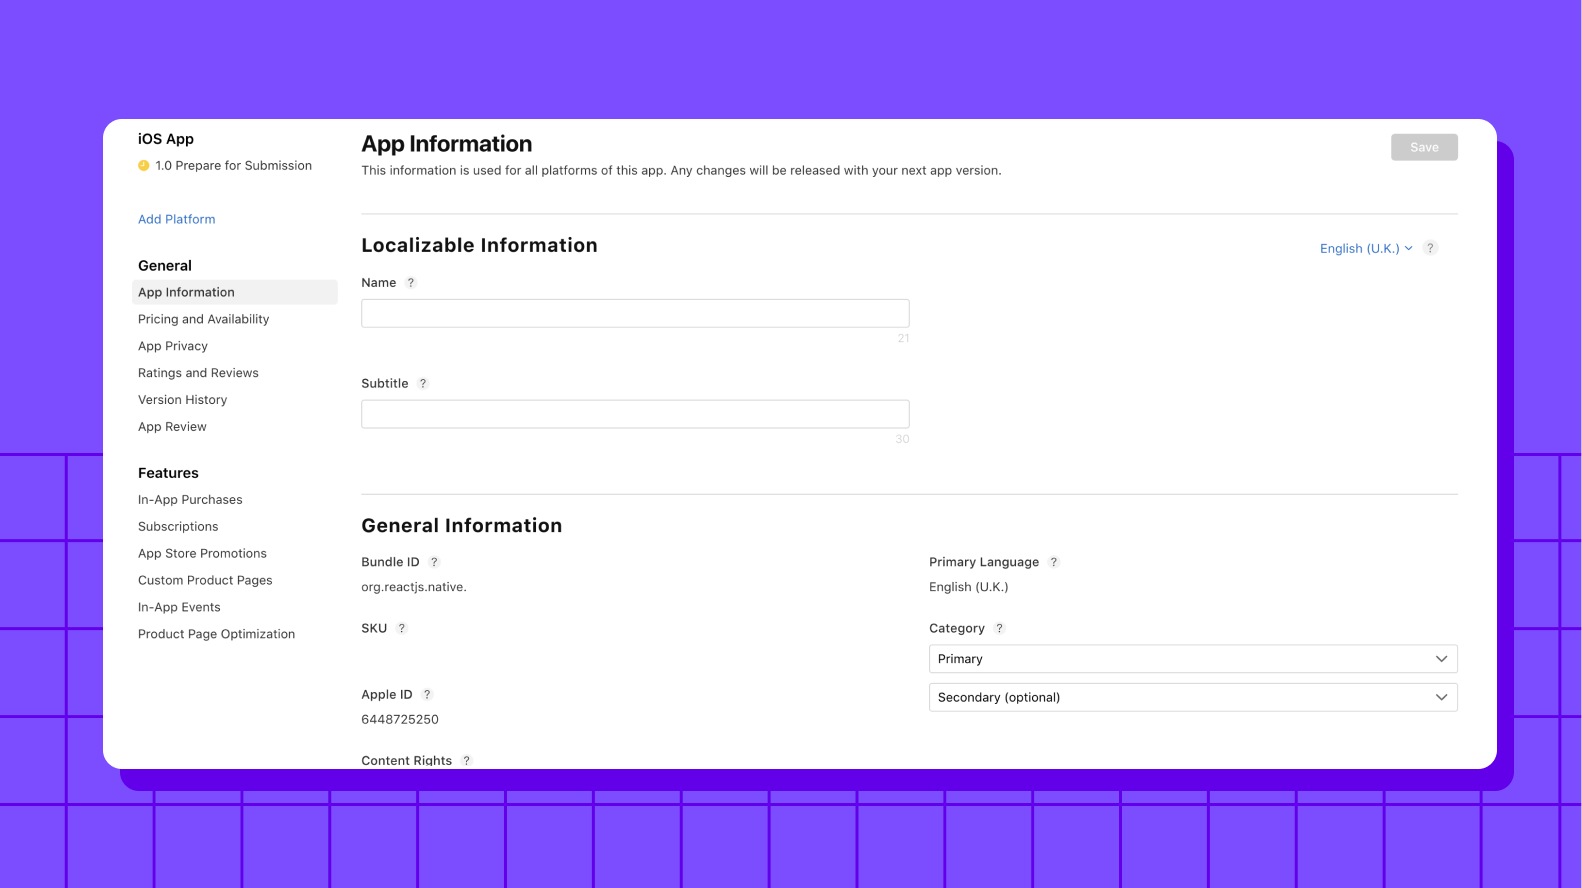
App information
- Click on the “App information” page from the sidebar
- Fill in the “Localizable” and “General” information sections.
- Define content rights by selecting if it contains third-party content or not
- Specify age rating
Pricing and availability
- Click on the “Pricing and Availability” page from the sidebar
- Choose from the drop-down menu whether your app is free or paid
- Select the countries and regions for app distribution
- Select whether to make it available for pre-order or not
- Hit “Save” on the top right corner
Privacy Policy
- Click on the “App Privacy” section from the sidebar
- Enter your privacy policy URL
- Hit “Save”
Once the above information is saved successfully, your app gets the “1.0 Prepare for Submission” status and a yellow dot under the “App Store” panel.
Step 6 - Prepare App Store listing
The next step towards submitting your app is for you to prepare an app store listing. App store listings help you improve your app’s discoverability and, at the same time, illustrate its functionality to users.
Screenshots
Here you upload high-quality screenshots of your app that illustrate the features and user interface of your app. You need to upload screenshots in JPEG or PNG format and that too without status bars.
You can upload a maximum of ten screenshots, of which the first two are shown in the app preview. Apple requires different screenshot sizes for different devices. For more information related to screenshots, you can check out Apple’s screenshot specifications.
After you’ve finished uploading, click on the “Save” button in the top right corner.
App Preview
This is a short 30-second video that works as a snippet for your app, demonstrating its UI and features. You can add up to three app preview videos and should abide by Apple’s app preview specifications.
Description and keywords
Your app’s description and keywords are essential, as they help you reach its target audience and make it more searchable, boosting your app store listing.
In the description, you must include all the information about your app, its features and possible use cases. You can explain everything your app is about in no more than 4000 characters.
You should include keywords that aptly describe your app, as you can’t add more than 100 characters in this field. You can use commas to separate keywords.
URLs
Support URL and Marketing URL are mandatory fields. The support URL is the one where your users can get the required help, and the marketing URL is where users can look out for marketing information about your app.
Icons
You should create a unique icon for your app which makes you stand out from the crowd. Apple requires a set resolution of 1024 pixels by 1024 pixels in PNG format without rounded corners.
For extra help, check out our guide onapp store optimization 👈
Step 7 - Upload your build through Xcode
Once you’re done with the app store listing, it’s time to upload your app through Xcode. With Xcode 14, it's effortless to upload your app.
- Add your developer account to Xcode. Follow the path Xcode > Preferences > Accounts
- Select “Signing & Capabilities” and check “Automatically manage signing”
- After this, select “Product” from the top left menu and choose “Archive” to bundle your app
- Once done, click “Distribute App” on the top right corner
- Select the destination method and select “Upload” before pressing “Next”
Now the app gets scanned for errors and if there are any issues in the build, Xcode will alert you. And if not, Xcode will automatically generate all the certificates, and uploading will start.
Step 8 - Submit app for final review
Finally, you can do the app submission to the app store for the review process.
- Go to the Build section in App Store Connect
- Hit “Select a build before you submit your app”
- Select the build you uploaded through Xcode
- Click “Done” > “Save”
- Click “Submit for Review”
Now step back and relax as the Apple reviewers review your app for approval. Depending on the size and functionality, the final review can take anywhere from a few hours to several days.
What to do after submitting your app?
Now that you’ve submitted your app to the Apple App Store, it’s time to build out your marketing function and decide on a plan to maintain and optimise your app.
The former will allow your business to start generating leads and driving app revenue, ensuring you make the most of your investment. Meanwhile, the latter will ensure your app can cope with emerging business needs while keeping customer data secure.
Here’s everything you need to know:
1 - Build out your marketing function
Once you’ve launched your app to the App Store, building out your marketing should be your top priority. It’s because your app isn’t going to download itself into your customer's phones. You need to go out and increase awareness of your target audience. A sound marketing function will help increase visibility, generate leads and ultimately drive sales.
Here are some of the steps you need to take once you have rolled out your app:
- Assess your marketing activity - understand which strategies, channels and campaigns already perform well for your business and outline where you need to plug gaps
- Set up a Google business listing - enhances your online visibility and makes it easier for customers to find and connect with your business
- Set up reporting - tools like Google Analytics help you measure the performance of your marketing effort and better understand your target users’ behaviour
- Automate CRM integration - effectively track and score leads to optimise conversion rates
- Create an SEO strategy - use content marketing to build topical authority within your niche and rank on page one of the search engine results page (SERP)
- Run PPC and paid social media campaigns - find and convert customers with buying intent on search engines and on social media platforms using a range of textual and visual media
- Create a social media calendar - engage with potential customers on social media by scheduling regular text, image, video and audio posts
- Start email marketing - craft personalised email campaigns to inform your target audience about your new app's features and exclusive benefits
- Establish a relationship with media - use press releases to help create buzz around your app and build awareness of it beyond your usual audience
2 - Maintain and optimise your app
Launching your app to the Apple Store isn’t your final destination. And if you want to secure long-term success, it must always be in tip-top shape.
Because of this, you need to start an ongoing process of maintaining and optimising your app. This will ensure it runs smoothly and continues to add value to your customers.
Here are the steps you can take to achieve this:
- Fix bugs - release updates to fix bugs and improve performance
- Monitor performance - continuously monitor your app's performance, like loading speed, battery usage and smooth functioning across devices.
- Add new features - keep your app updated by adding new features, exclusive benefits and following new industry trends.
- Analyse user feedback - seek and analyse user feedback and address their concerns to enhance usability.
- Improve security measures - prevent your app from potential security threats and user data leakage by taking active security measures.
Investing in app maintenance will help you achieve all of these outcomes, ensuring users can perform the actions they want to in your app and that revenue from in-app purchases keeps flowing into your account.
How to submit apps to Apple App Store (the easy way)
Submitting an app to Apple’s App Store is a huge milestone for your business. But, like everything in the app development process, nothing is quite as straightforward as it seems.
That’s why, when you make an app with Builder.ai, you get step-by-step support, helping you to follow best practices when uploading your app.
This means you can stop fiddling around with cumbersome admin and start generating revenue from your app as soon as possible.
We also help you market and maintain your iOS app to ensure long-term success. To learn more, check out Studio One 👈
FAQs
What do I need to upload an app on Google Play Store
To upload Android apps on Google Play Store, you’ll need a Google Developer account, a Google Merchant account and a signed Android Package File (APK). You also need to prepare your app details, like name, description, icon, screenshots and videos. Lastly, you need to ensure compliance with Google Play Store policies.
How do I create a Google Developer Account
To create a Google Developer account, you need to:
- Go to Google Play Developer Console
- Sign in using your Google account
- Pay a one-time registration fee of $25
- Fill in your account information
- Sign the Google Play Developer distribution agreement
What information do I need to create an app listing on Google Play Store?
When creating an app listing, you’ll need:
- App name
- Short description (80 characters)
- Full description (4000 characters)
- App icon
- App screenshots
- App preview videos
- App category and type
- Contact details (email, phone, website)
- App’s pricing and distribution settings
- Privacy policy
How much does it cost to publish Android apps on Google Play Store
To publish Android apps on the Google Play Store, you need to pay a one-time registration fee of $25 to create a Google Developer account. Once you’ve paid the fee, you can publish multiple Android apps under the same account without any additional charges.
How long does the app review process take on Google Play Store
The review process for Google Play Store can take from a few hours to a few days. However, it can take longer if there are any issues with your app. Once your Android app is approved, it gets published to all target countries.
Neetu Mogha is a Tech Lead at Builder.ai where she applies 10+ years of management experience to guide the software development team. Neetu has a BTech in Computer Science from Hemchandracharya North Gujarat University.


 Facebook
 X
X LinkedIn
 YouTube
 Instagram
 RSS
RSS